
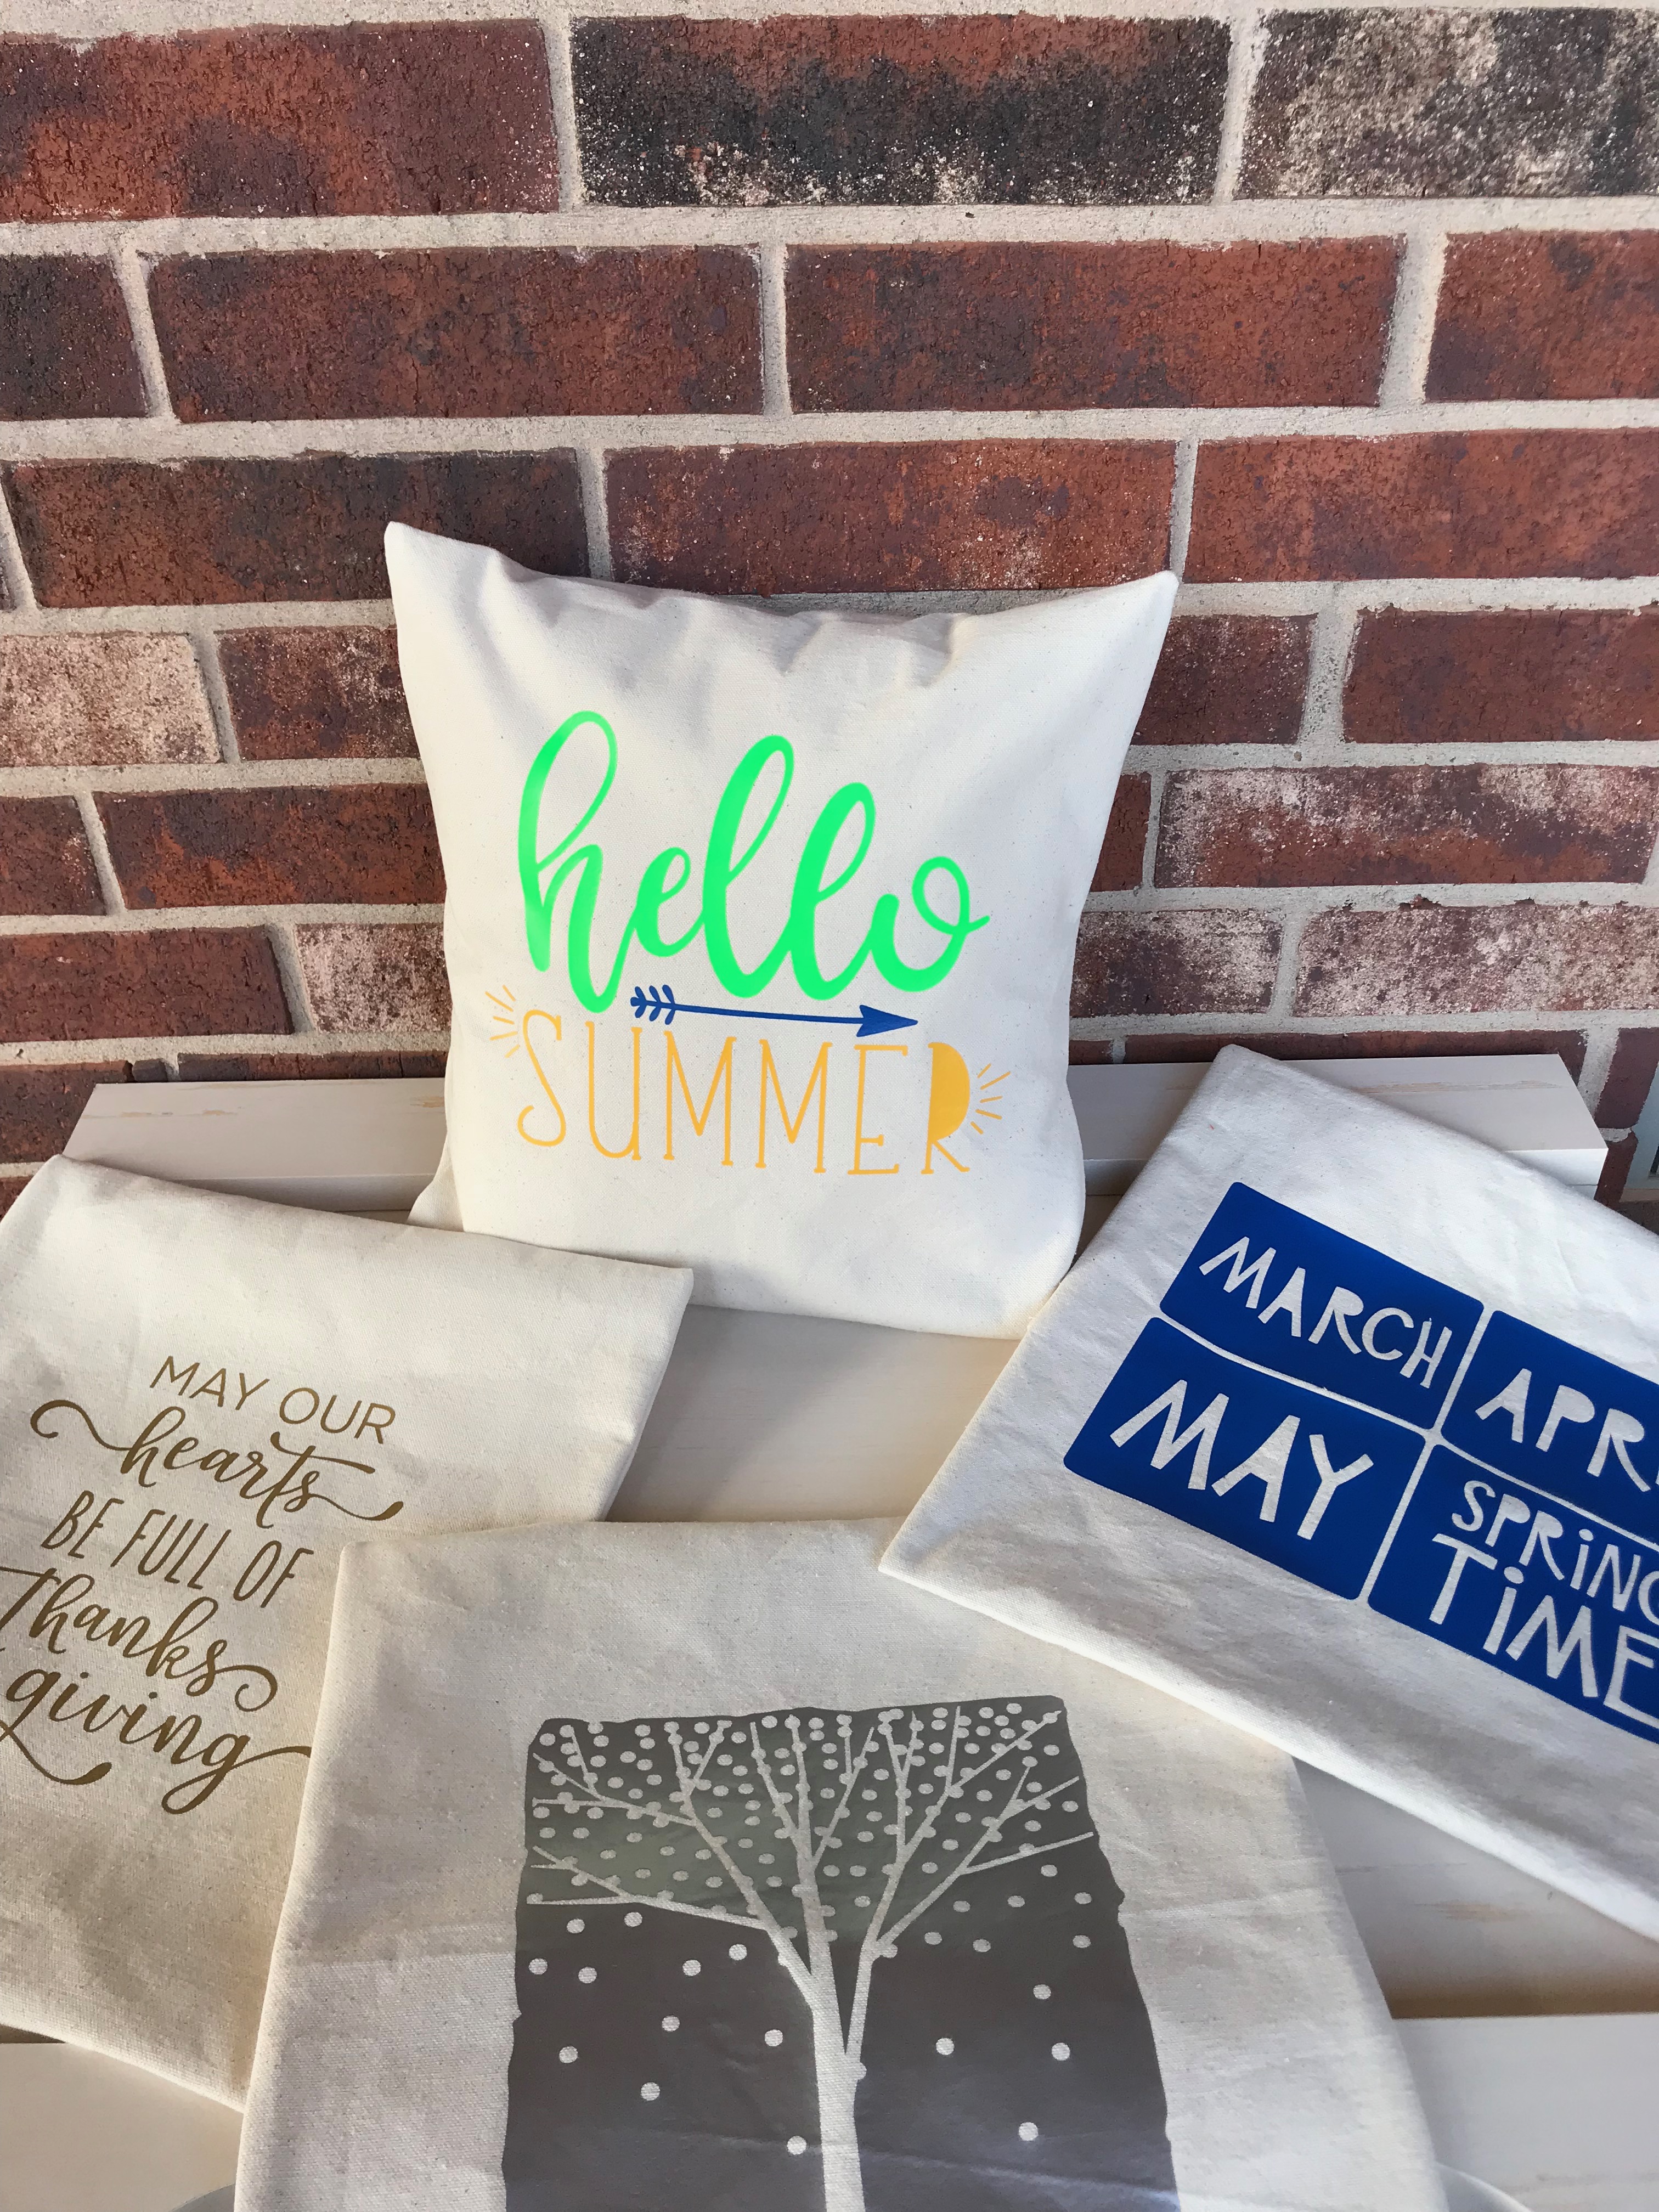
Looking for a cute, fun gift, that can be used all year long? How about an All Seasons Throw Pillow?
This was a fun project to put together.
It’s a mixture of simple sewing skills, and Heat Transfer Vinyl (HTV) cut with my Silhouette Portrait2. This was my first time to layer colors with HTV, and it was surprisingly easier than I expected!
I’m still not in the habit of taking pictures as I work on a project. I’ll try to get better about that! But, I’ll give you a recap of the process.
I used the following supplies:
14″ pillow form
1 yard of Cotton Duck Canvas
Matching Thread
Siser EasyWeed Heat Transfer vinyl in a variety of colors
The following images from the Silhouette Design Store:
May our hearts be full of Thanks & Giving
The fabric that I used was 60″ wide. Since I wanted to get 4 pillow covers out of this one piece of fabric, I didn’t trim the selvage. Although, I really probably should have. I cut the fabric into 4 pieces that were 15″ wide by 36″ long.
Using my Silhouette Portrait2, I cut my selected images from my selected colors of HTV. IMPORTANT – if you’ve never used Heat Transfer Vinyl before, be sure you do some research before cutting. I’ve used a couple different brands of HTV, and on each that I’ve used, you must cut the image in reverse. The shiny side of the vinyl will be face down on your cutting mat. (I learned the hard way on my first HTV project. But luckily it was a small image that I initially tried, so I didn’t waste too much HTV!) There are lots of good tutorials out there on the internet. Maybe someday I will be able to write a more in-depth post…but I’m still learning myself!
Okay…back to the project!
 I ironed the images onto my fabric before sewing the pillowcases. I found the center of my fabric and marked it with a disappearing ink pen. If you don’t have a fabric pen, no worries, you can fold your fabric in half lengthwise and finger press it, or give it a very quick press with an iron, then do the same width-wise. That will give you a little “x” in the center of your fabric. (Or just eyeball it… it doesn’t have to be exact, but you do want it fairly centered so the finished project won’t look crooked.)
This picture may give you an idea. It’s the only time I remembered to stop and take a picture during the process.
Once the image is on the fabric, it’s time to sew a simple envelope pillow case.
On each short end of the fabric, turn the fabric down about 1/4″, iron it, then turn down another 1/4″ and sew. This will make a nice finished edge.
Next, I measured from the center of my image to find the top and bottom of the front of the case. Since I used a 14″ pillow form, I measured up 7″ from the center, and down 7″ from the center and made a mark with my disappearing ink fabric pen. I folded my fabric on those marks. Since the fabric was 36″ long, the ends overlapped on the back of the pillow, thus creating the ‘envelope’. (Argh…I wish I had pictures to share with you. I gave this set away as a gift and didn’t think to take pictures of the back. I might have to make another one of these so I can give you better visuals!) I sewed up the sides of the case using a straight stitch…and voila…pillow case!
I actually used a french seam, which is way easier than it sounds. The french seam hides the cut edges of the fabric nicely, and I thought would help with durability since the covers would be taken off and on throughout the year.
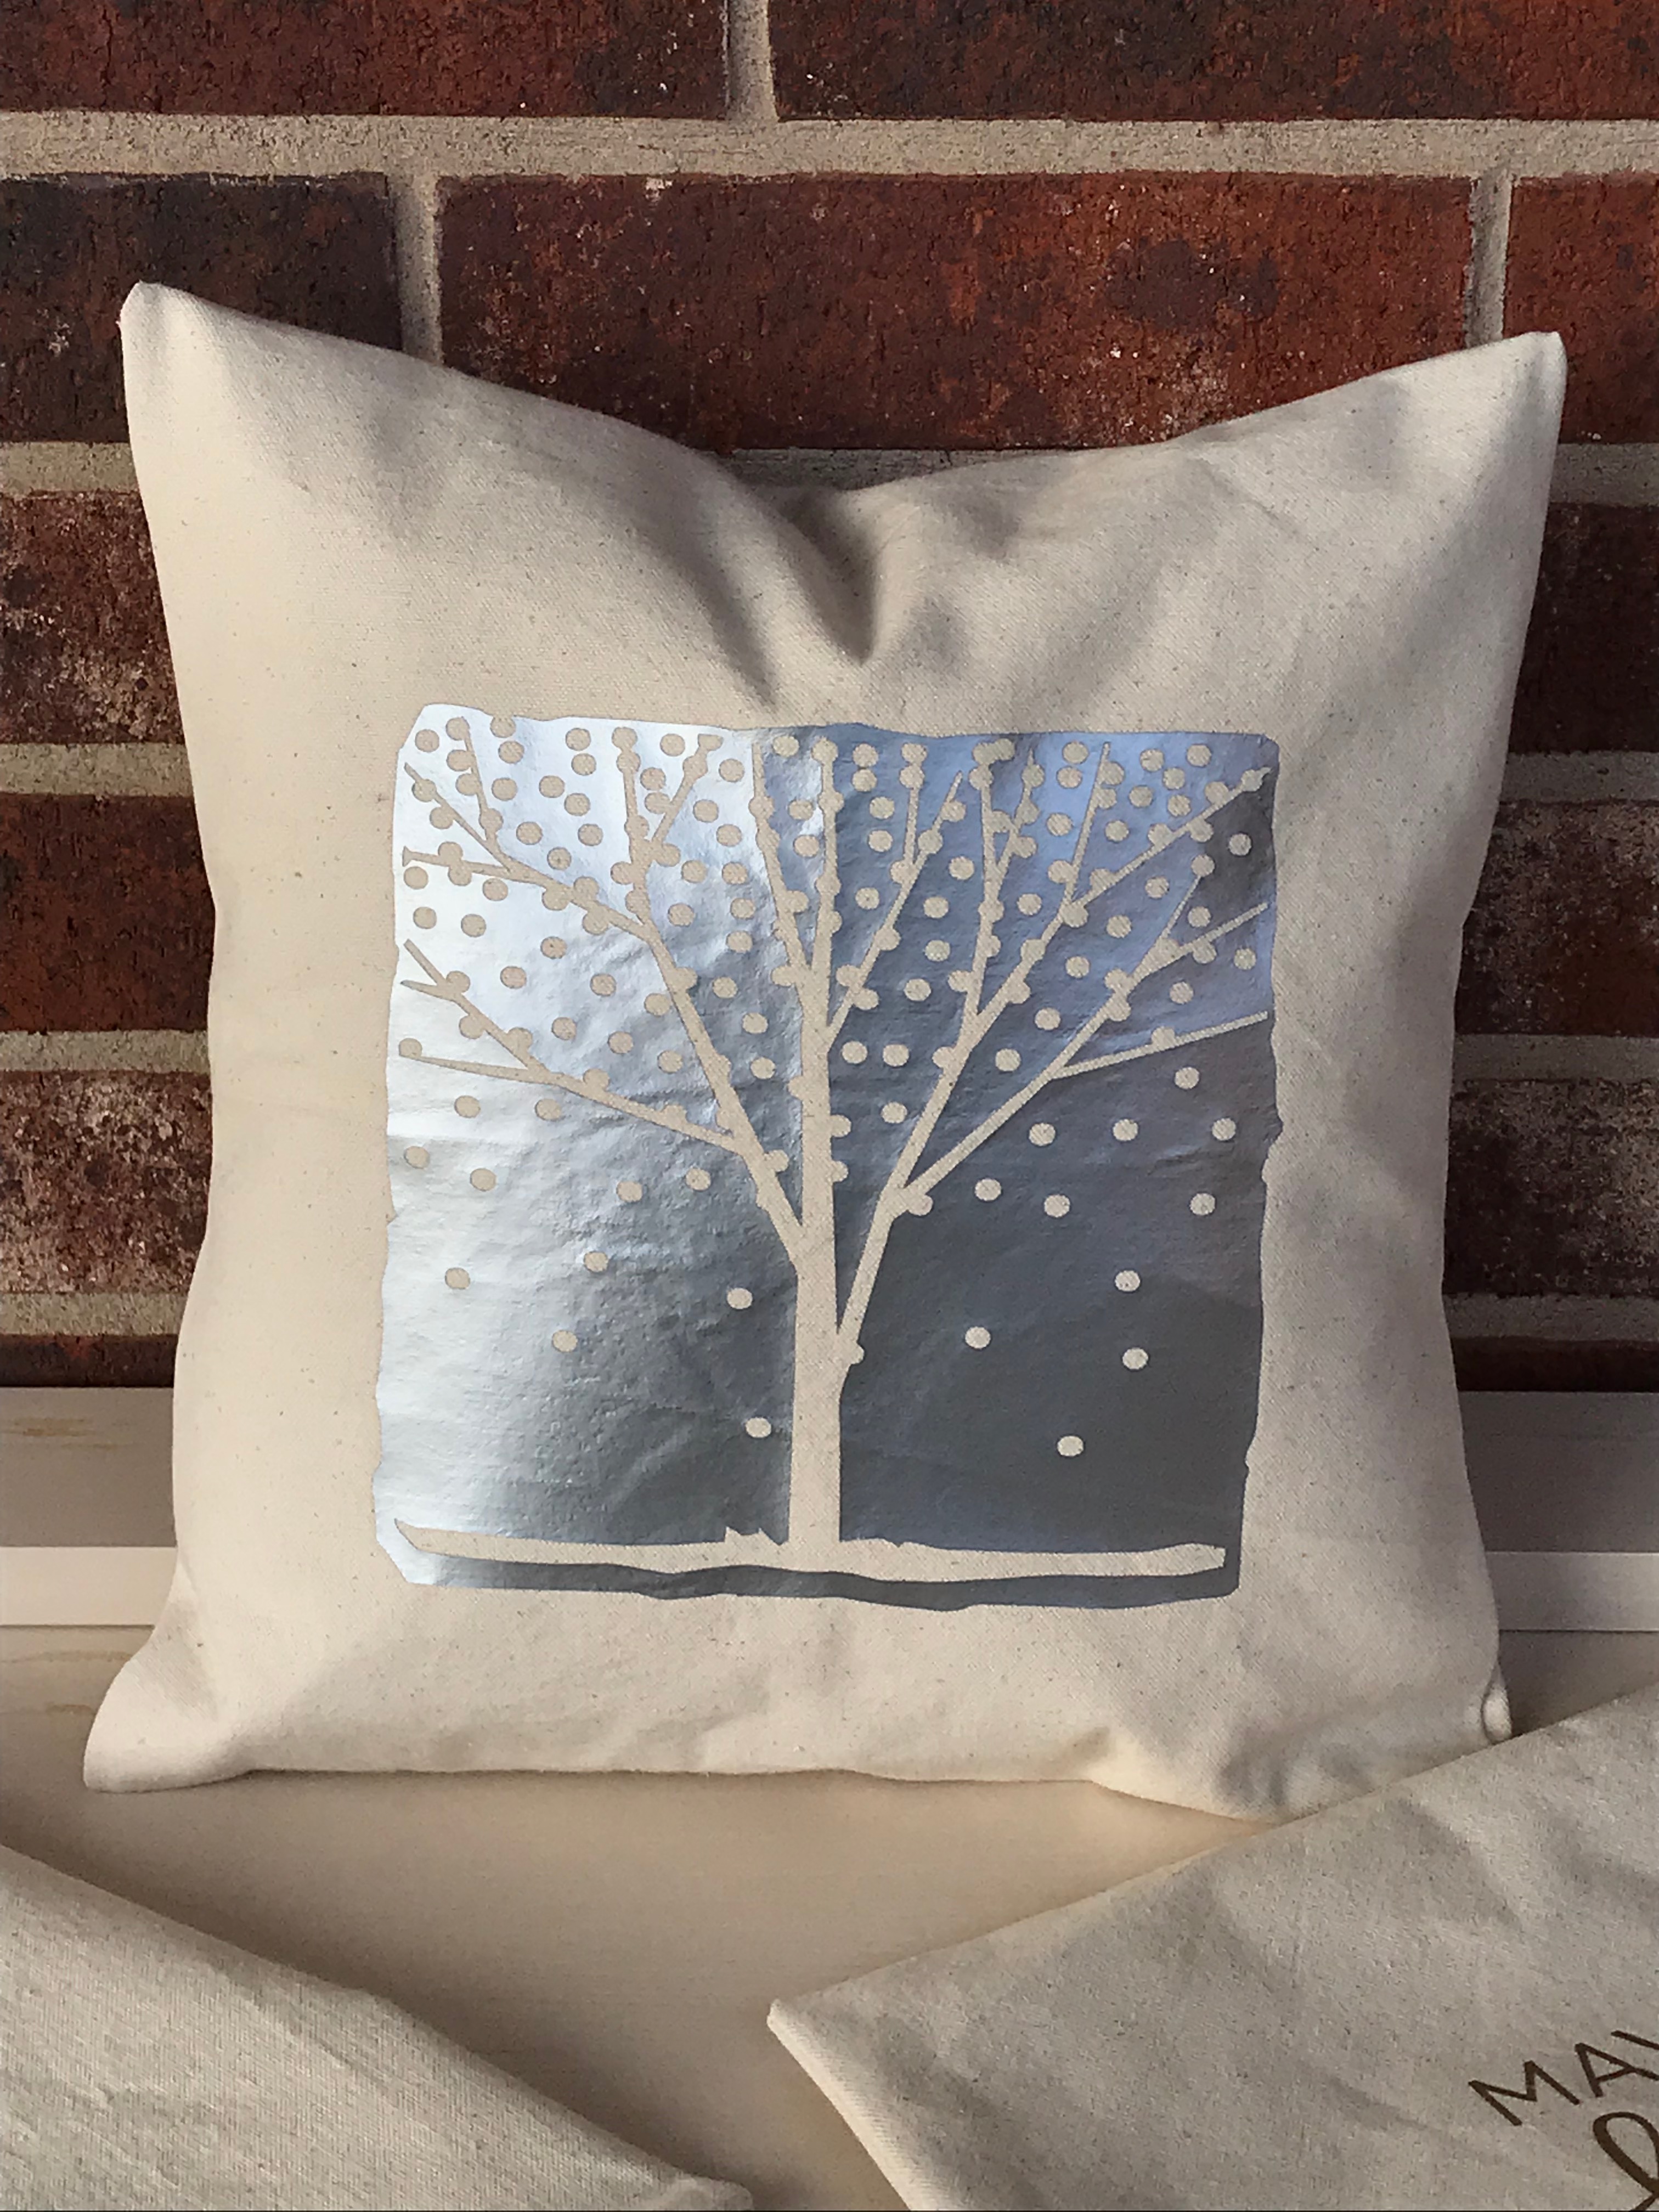
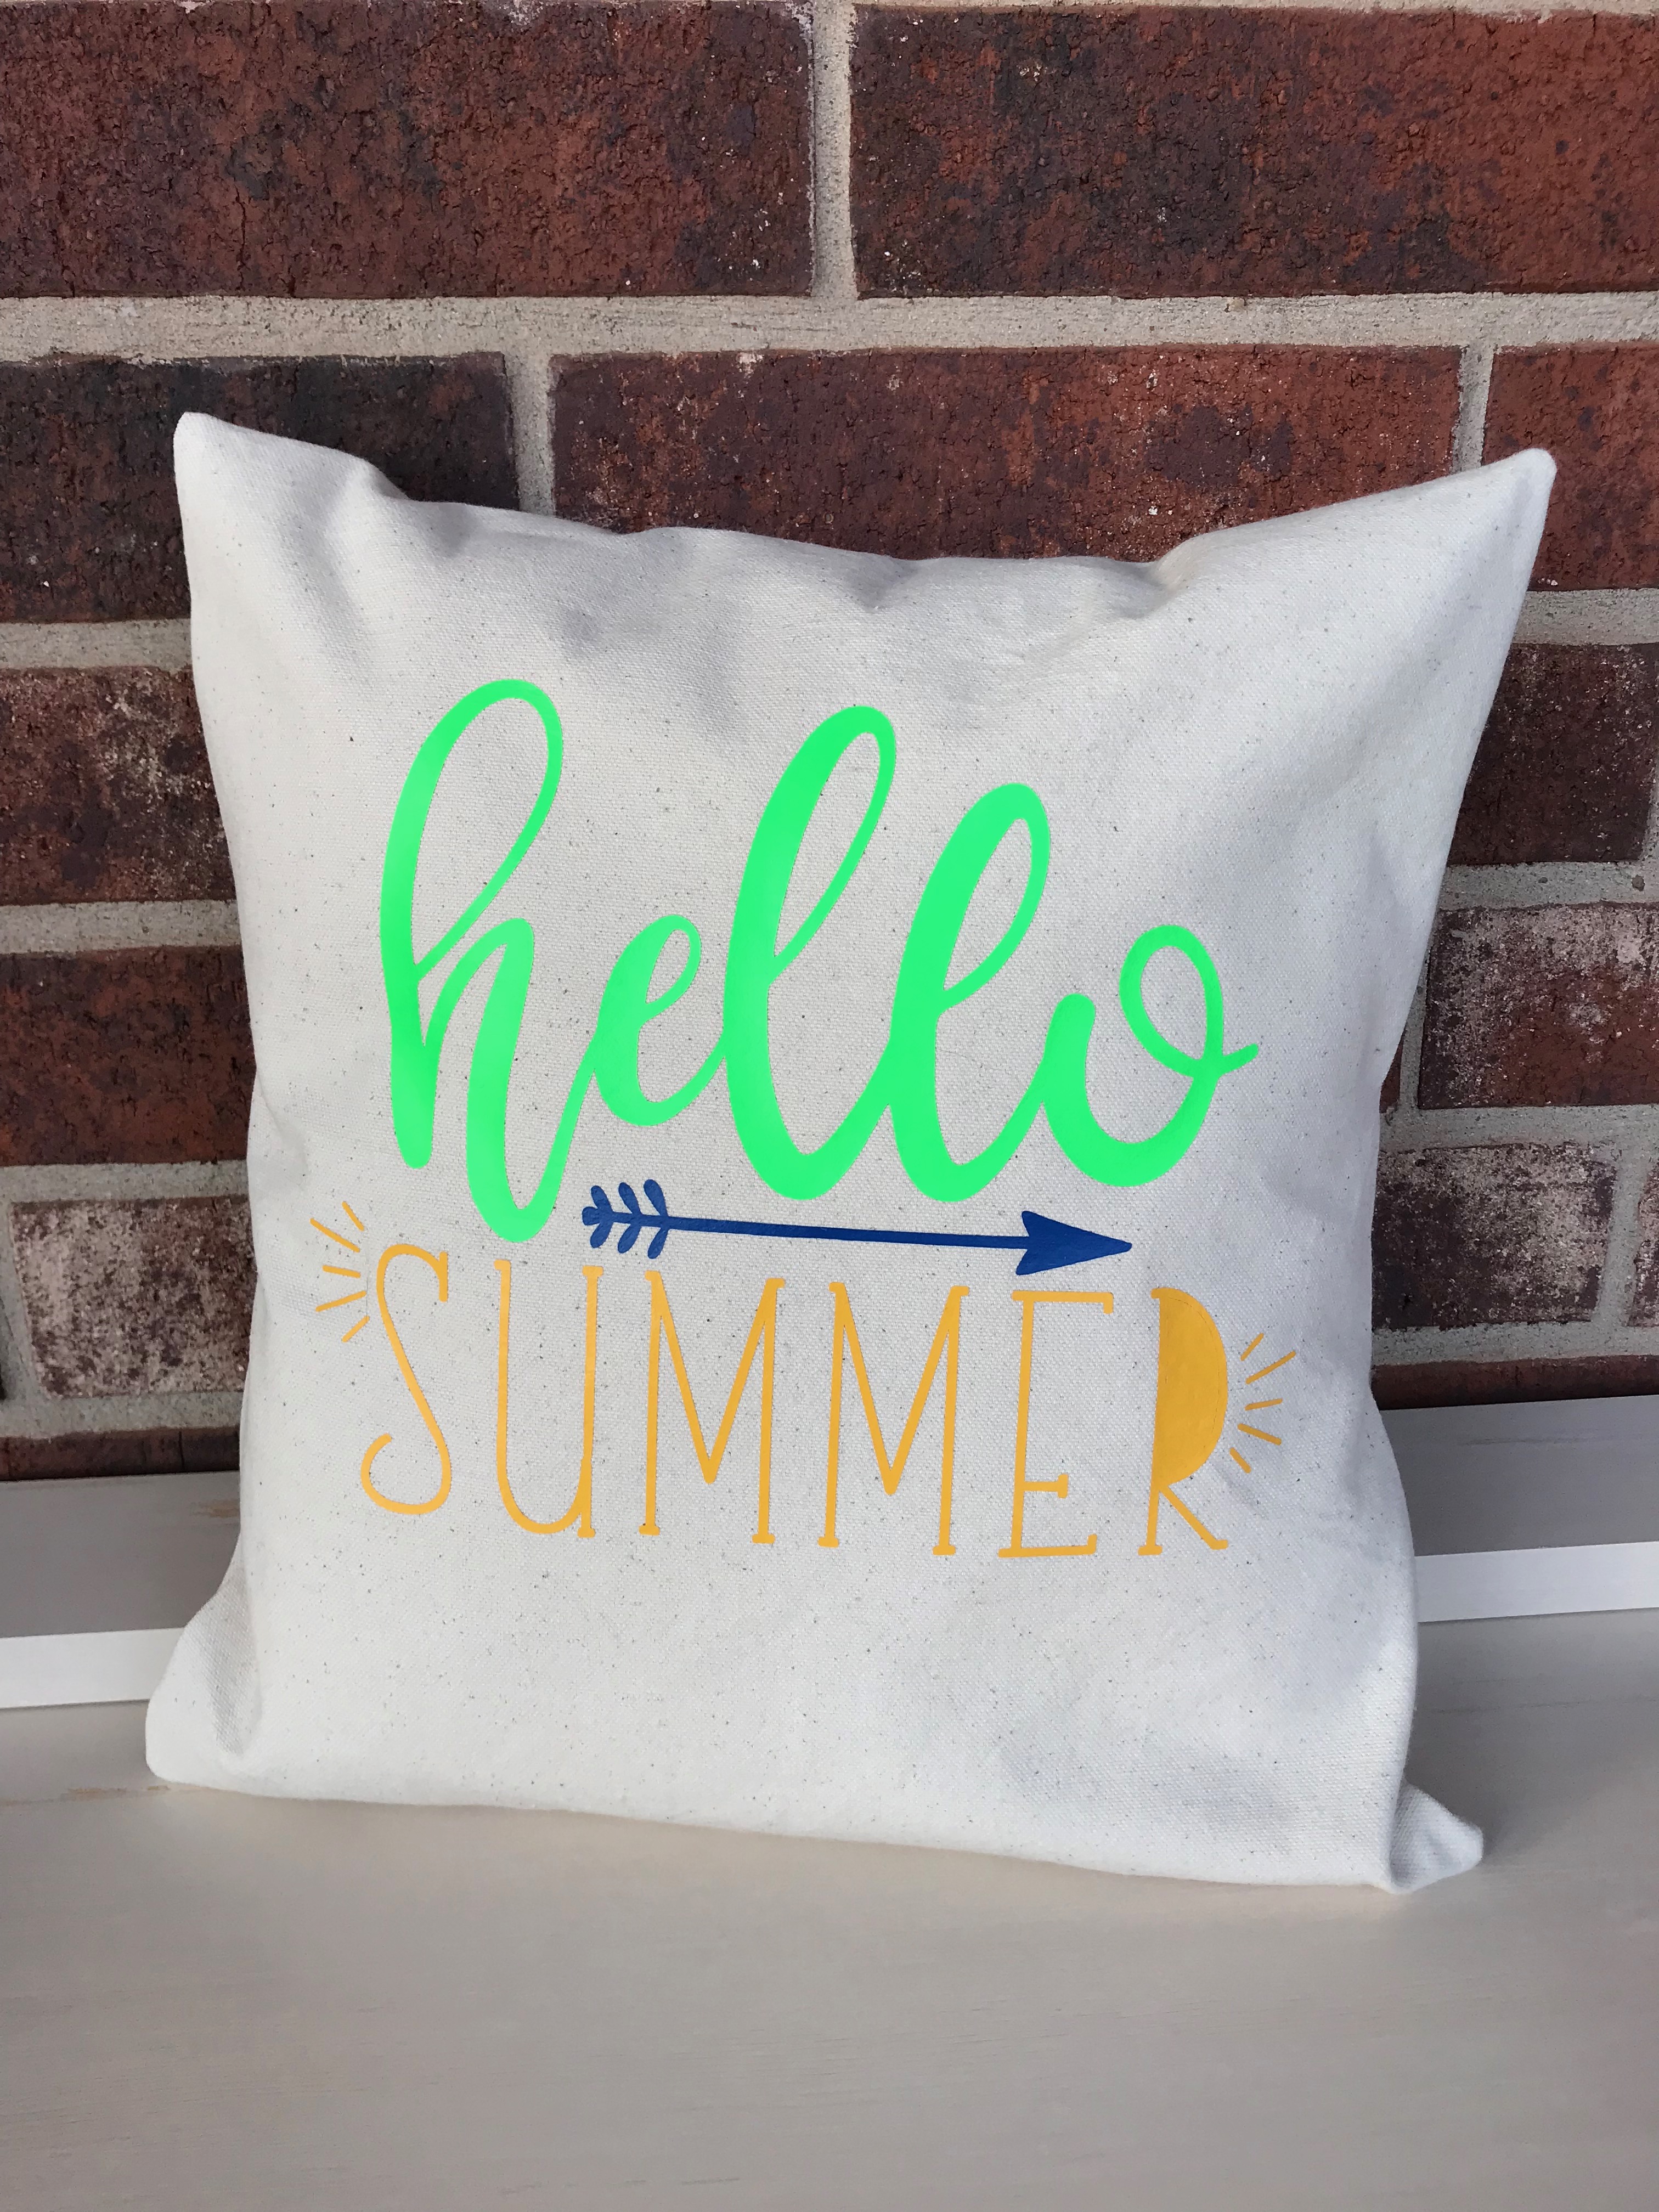
 I made one case for each of the 4 seasons, but I can totally see making cases for holidays too!
Throw this on your couch, and it’s a fun and easy way to change up the look of your living room throughout the year! I’m really happy with how all of these turned out, but the summer is my favorite. I think the spring cover would look cute in multi-colors too. There are so many possibilities!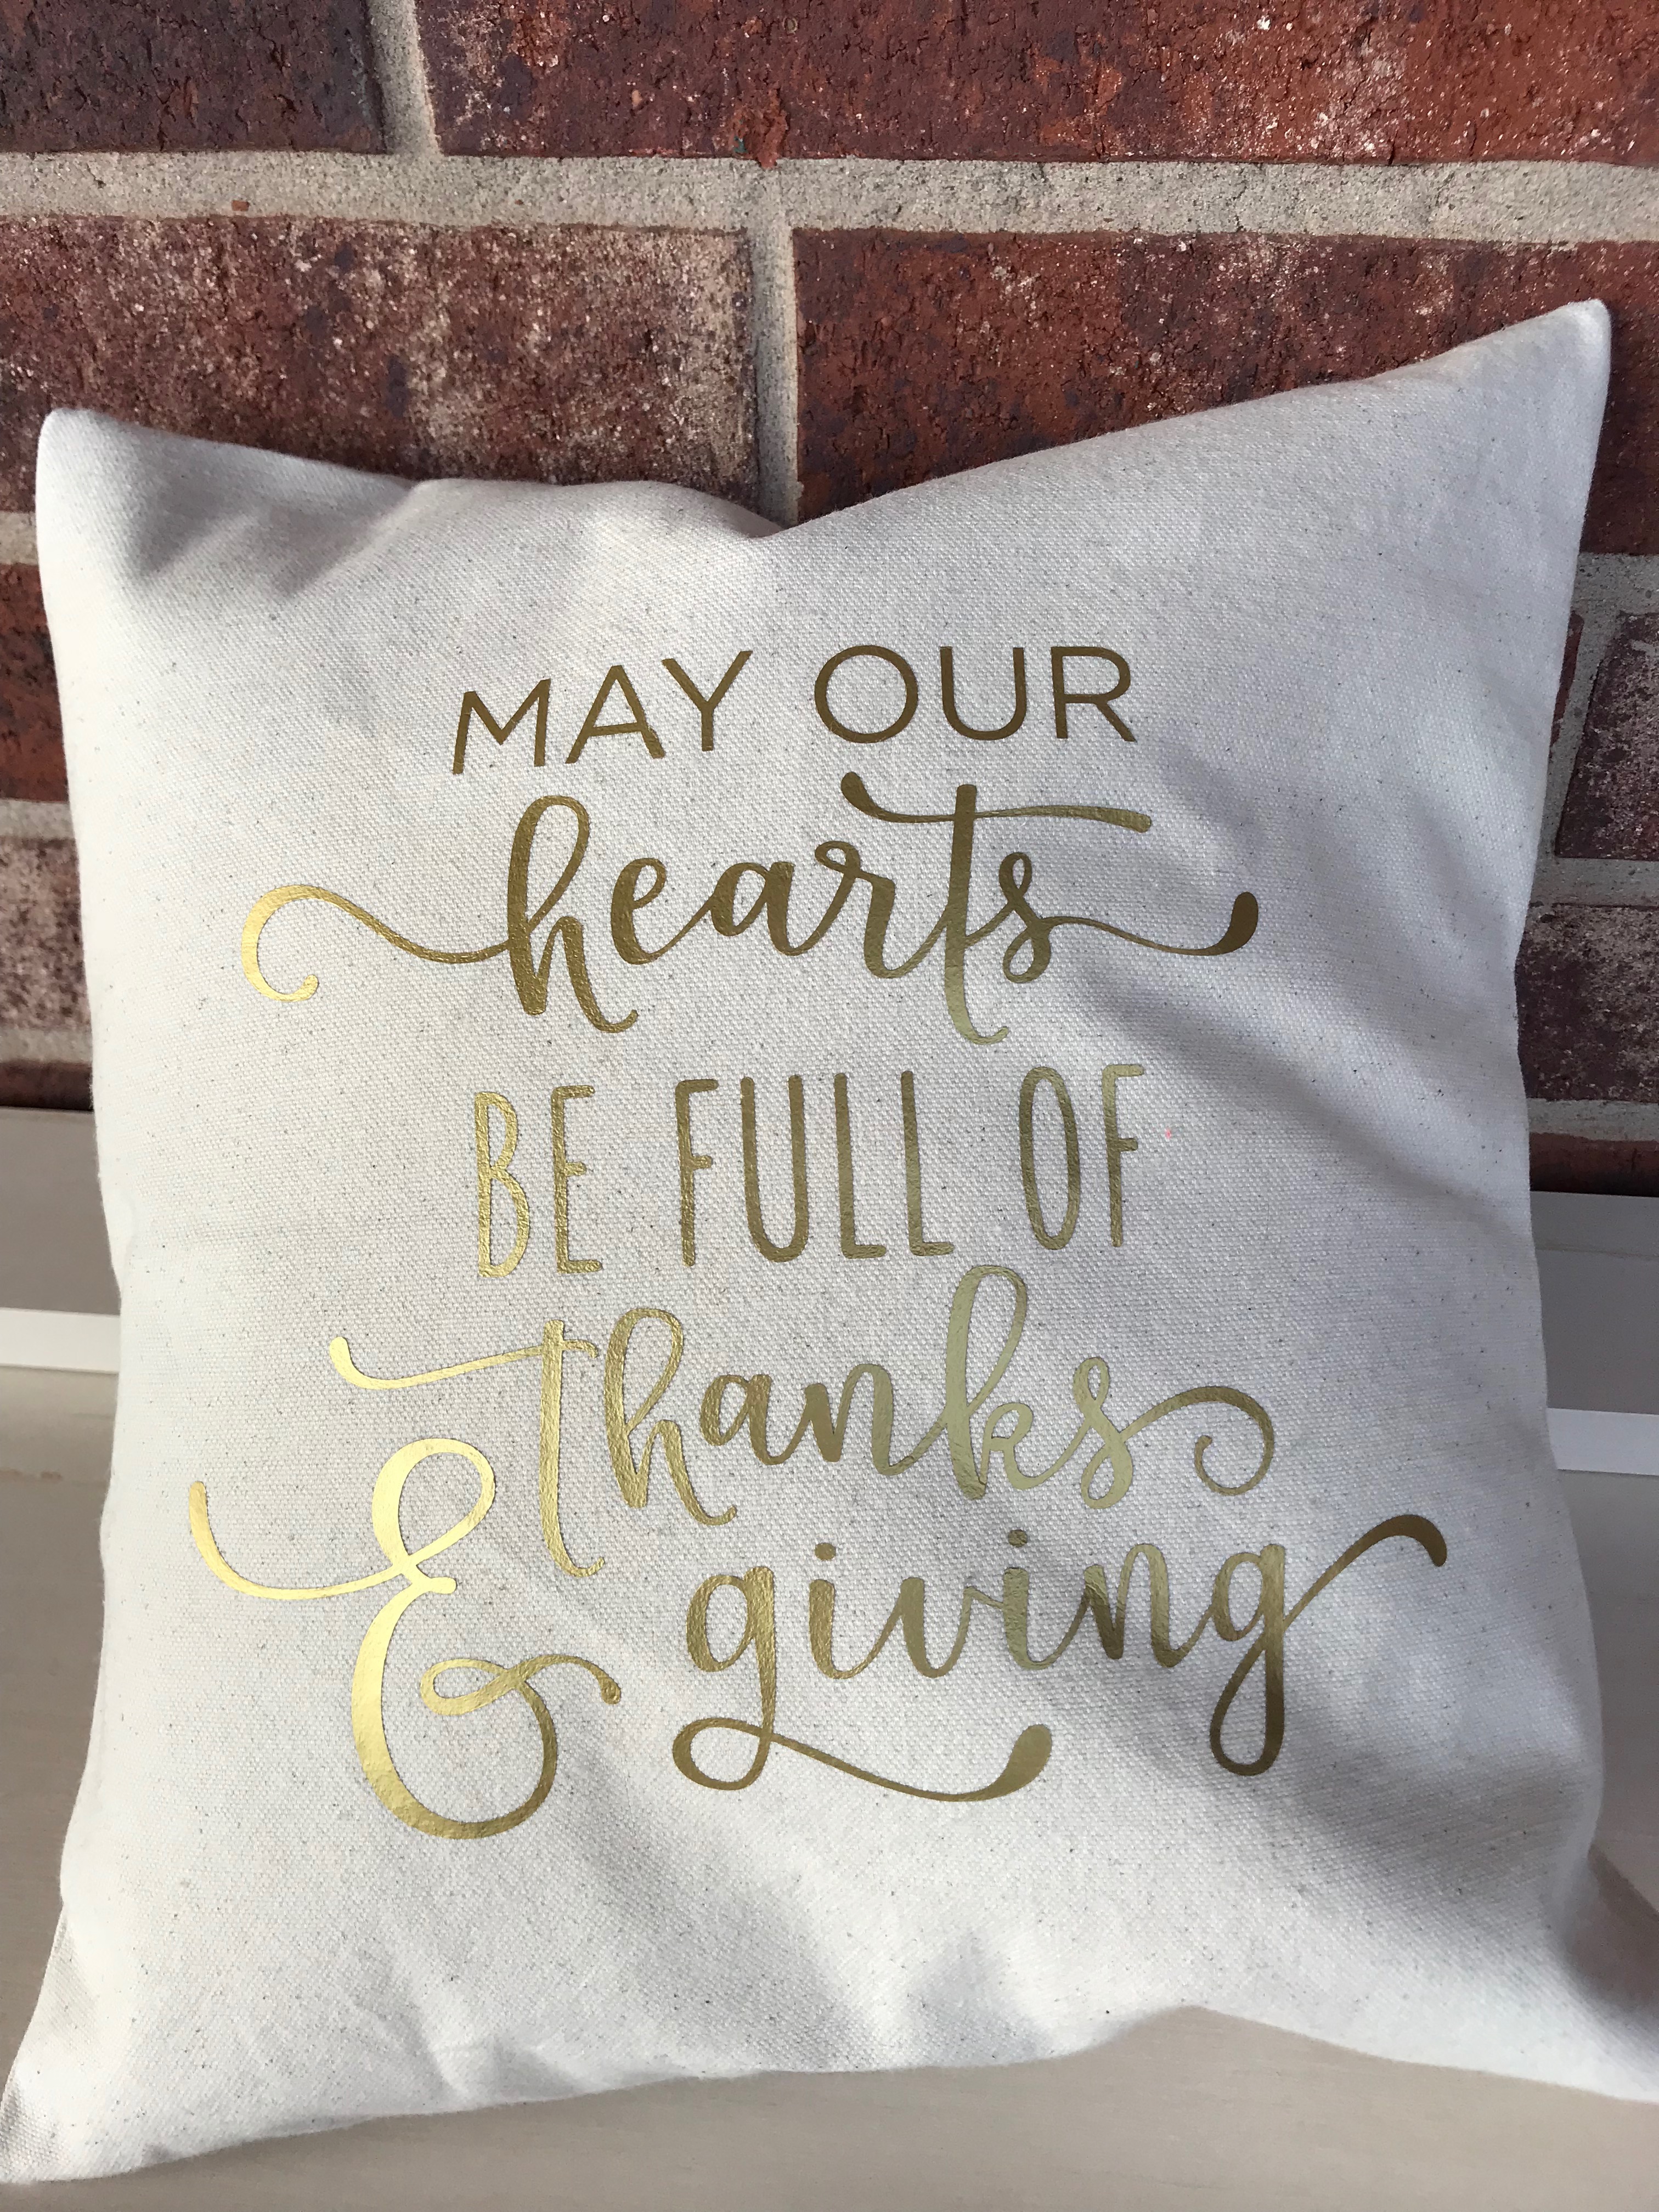
The inspiration for this project came from this post on the Silhouette America blog.
Thanks for reading!