Whew! May was a busy month filled with lots of end-of-school-year activities. I let all of those activities throw me off of my anticipated schedule of posting here. For all of those with kiddos, I’m sure you can relate! And, I know it can seem overwhelming at times, but I hope you enjoy it while you can.
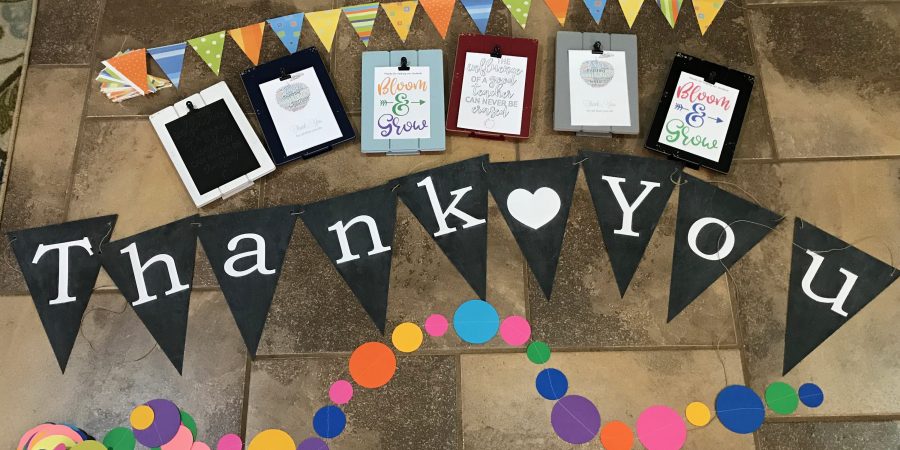
One of the activities that I was heavily involved in at one of my kiddos schools was Teacher Appreciation Week. I made some cute, easy paper decorations for the Teacher’s Lounge. While my focus was Teacher Appreciation, these decorations could very easily be customized for any other type of party.
I used my Silhouette Portrait2 to cut out the circles and pennants. SOOO much faster than cutting manually, or using paper punches like I have in the past.
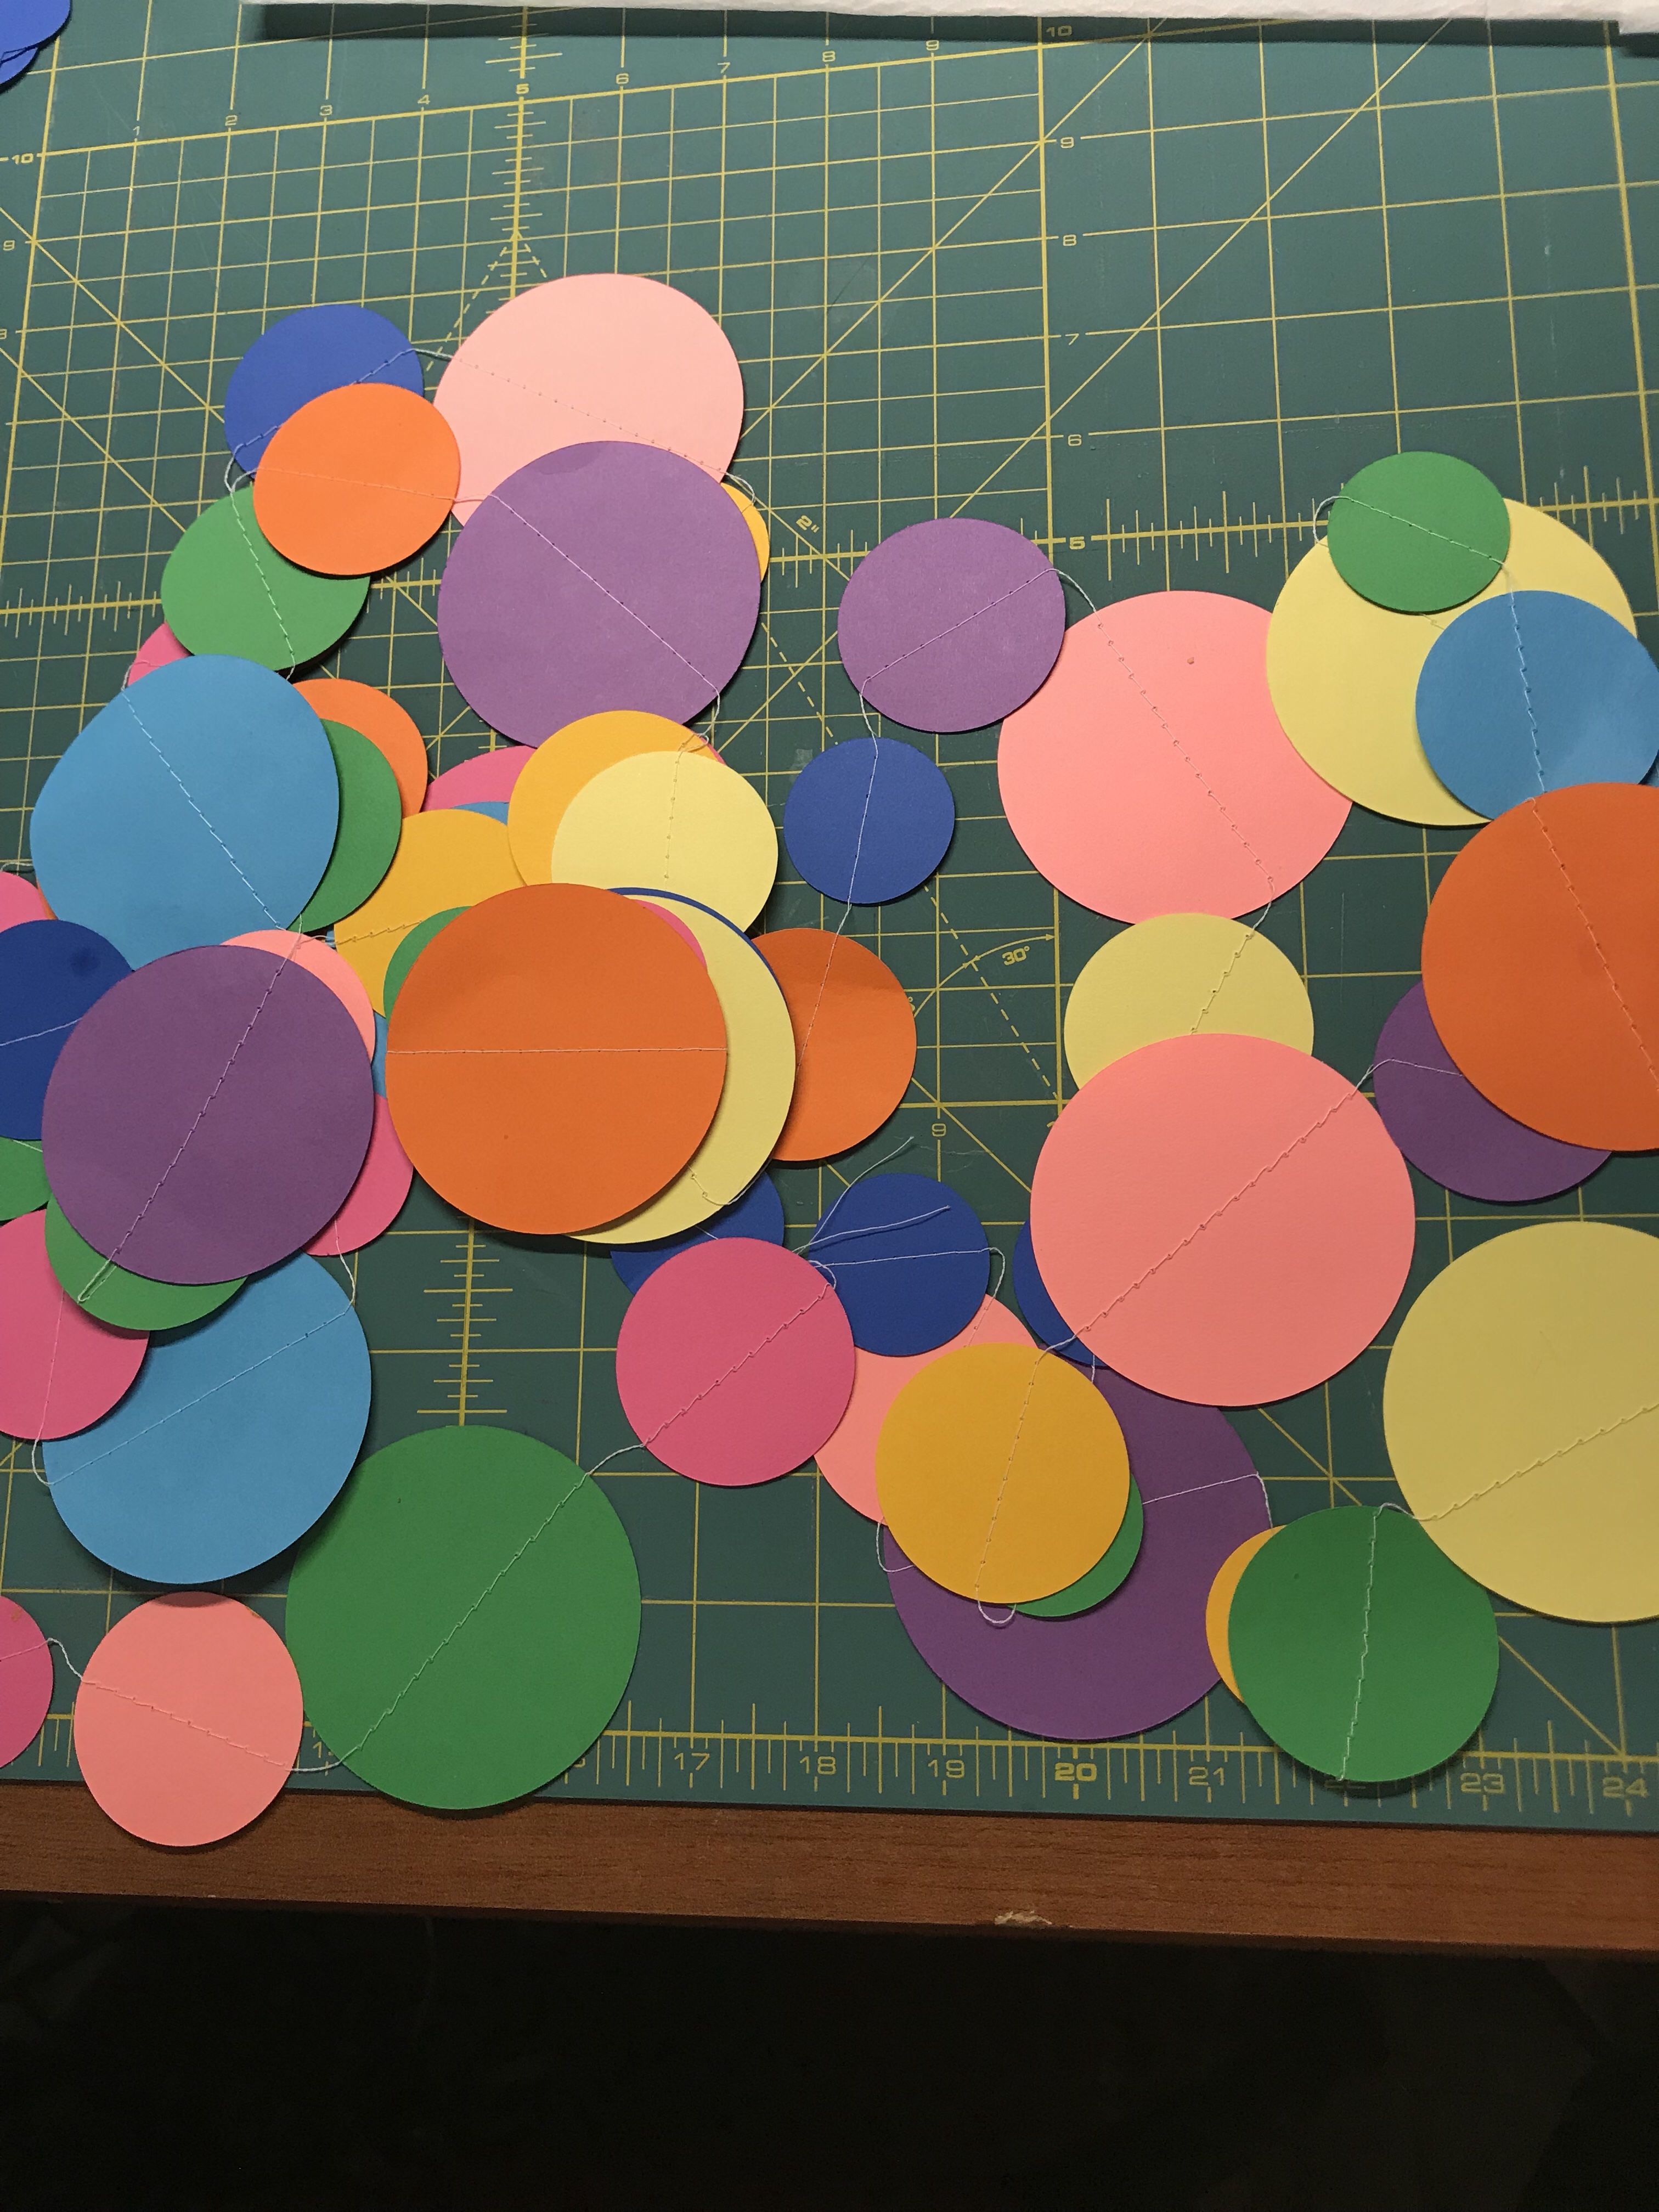 To get started, I cut 1.5″, 2″, & 3″ circles from various colors of cardstock. Then I sewed them into one, really long garland. Yes, I said SEW! I used white thread and set my machine to the longest straight stitch setting. Then I sewed down the center of the circles, allowing 2 – 3 stitches between circles. This is a quick way to make a fun garland!
A note of caution: let the garland carefully stack behind the machine as you sew. If it gets tangled, it is hard to untangle!
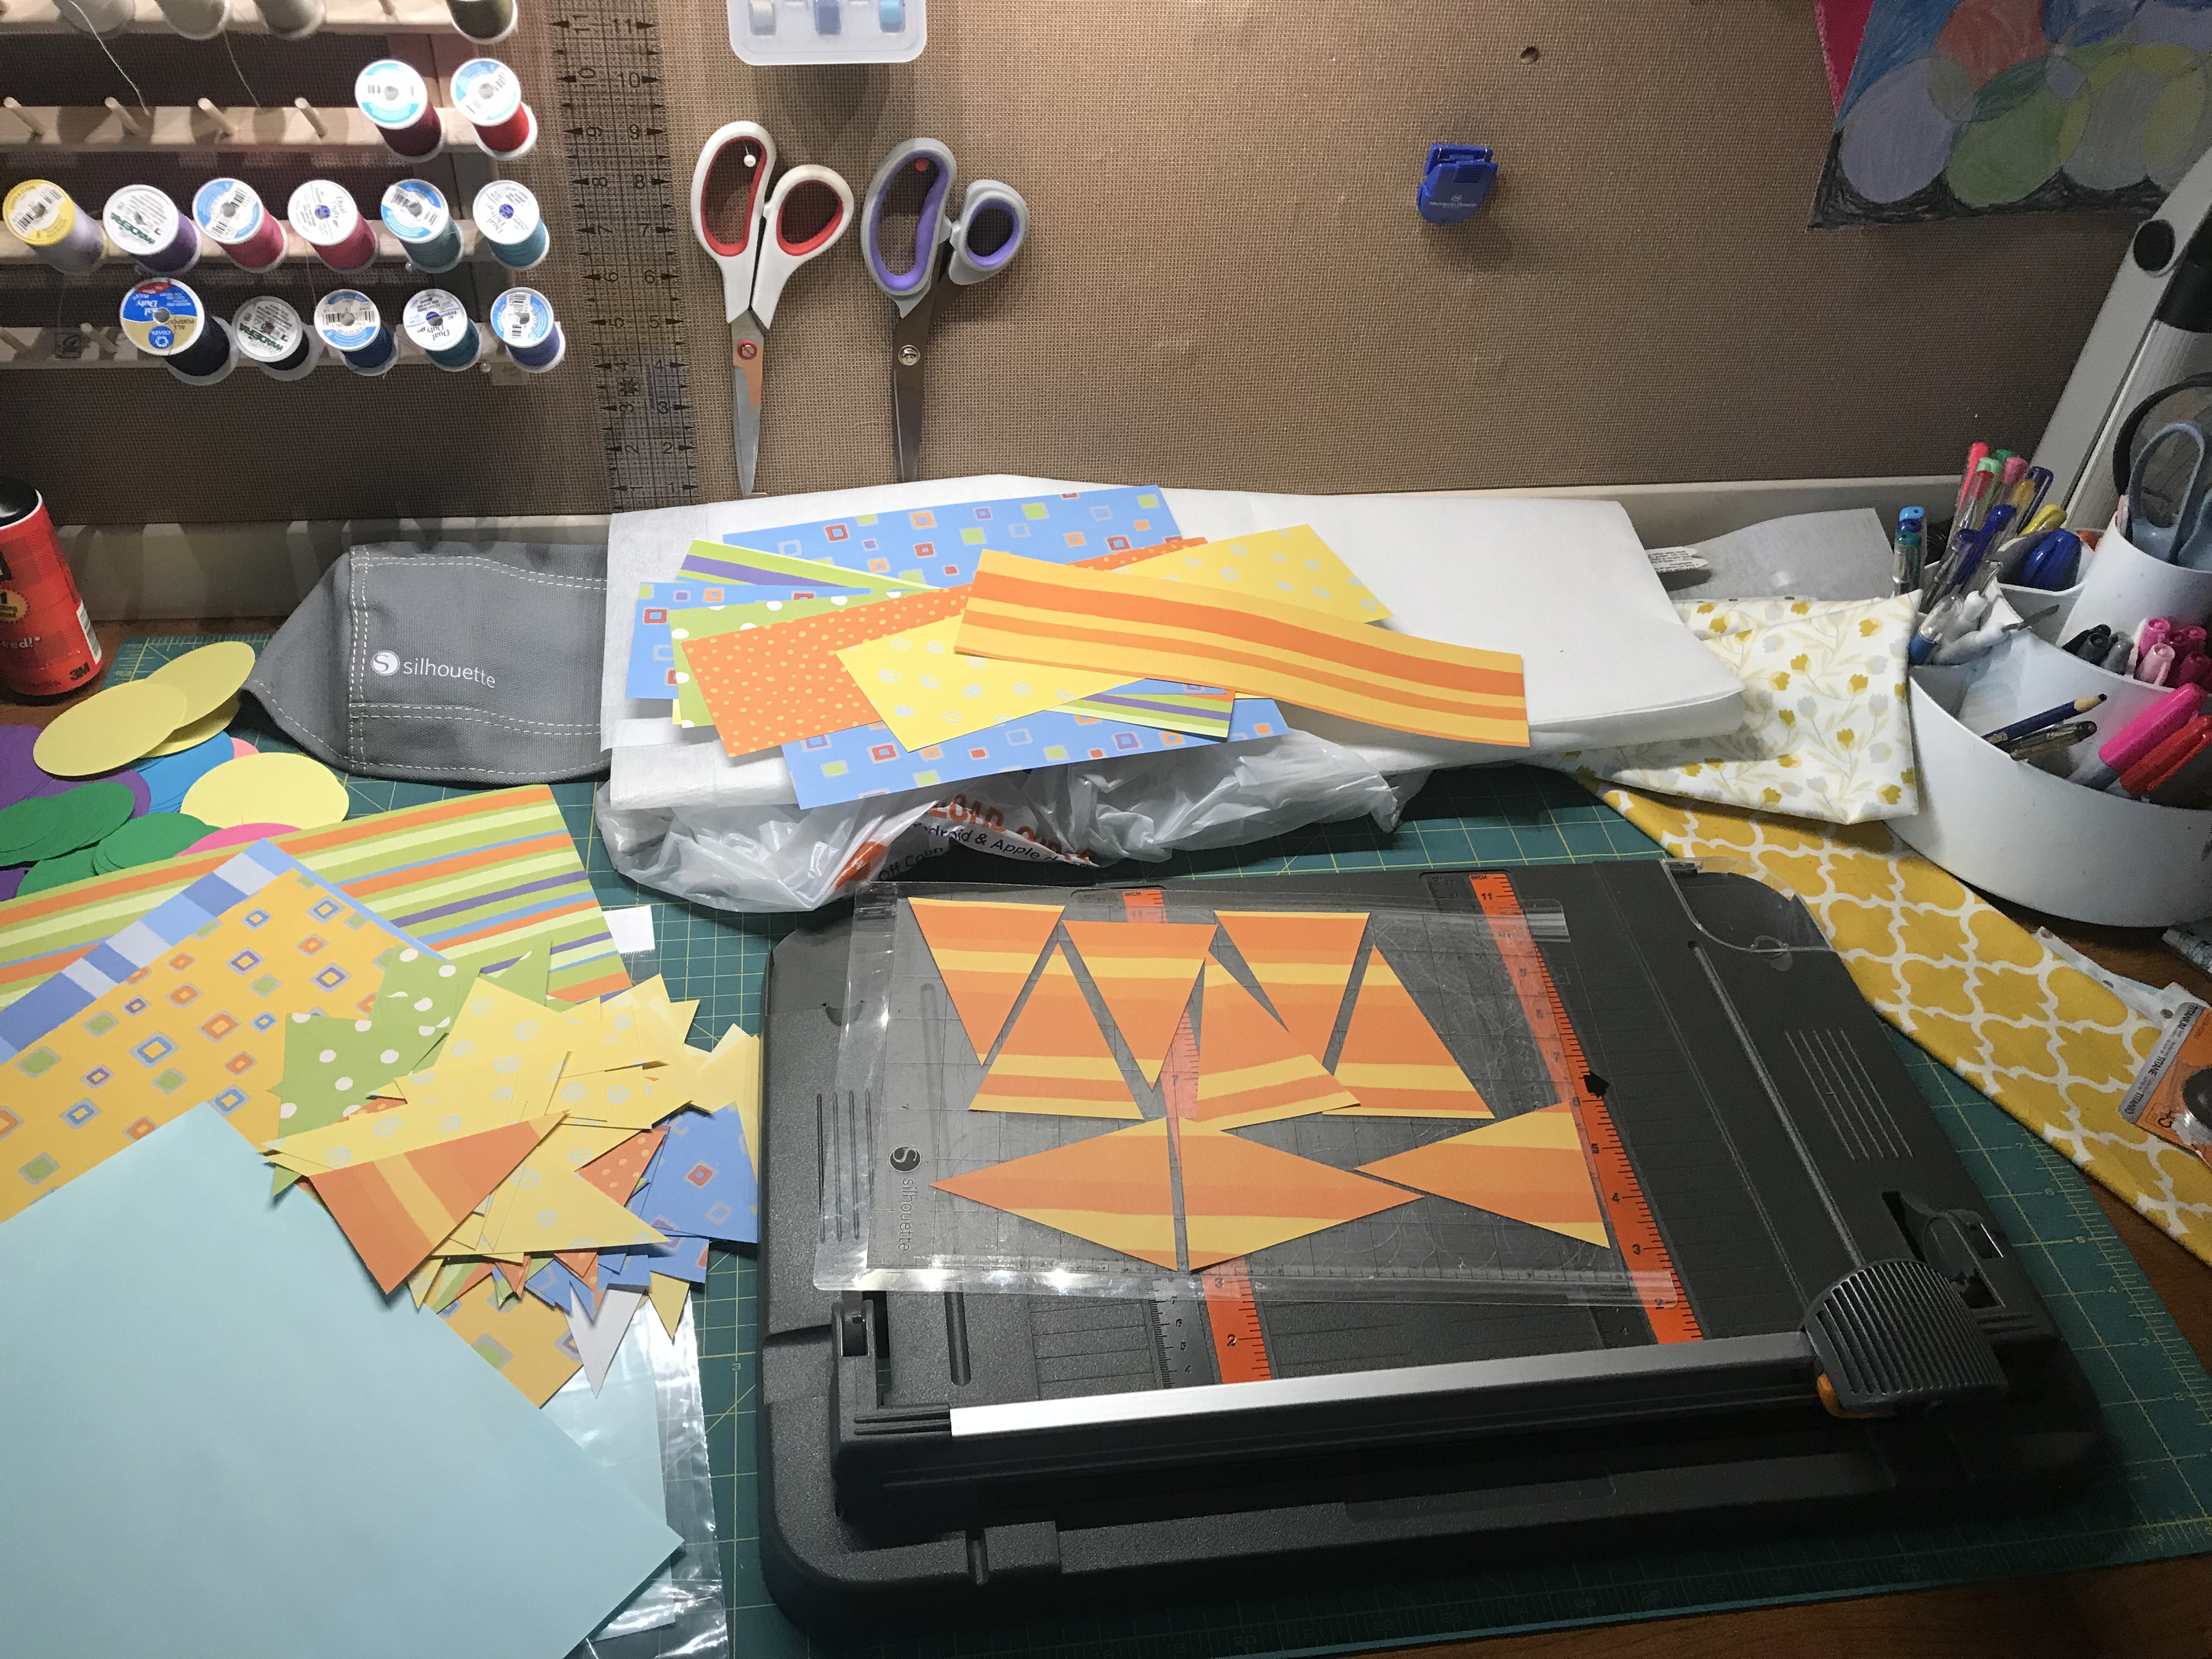
Next up were the pennants. I made some smaller pennant garlands using patterned scrapbook papers that I had on hand. Since my scrapbook paper was 12 x 12, but my Silhouette Portrait2 cutting area is 8 x 12, I trimmed down my paper. That was a job for my trusty Fiskars Rotary Paper Trimmer. I’ve had this thing for YEARS, and it’s still going strong!

Once my paper was sized to fit on the Silhouette Portrait2 cutting mat, I cut pennants that were about 3″ x 5″. I also sewed them together into about 2 ft lengths, again using a long straight stitch, about 1/4″ from the top of each triangle. Here is a closer look at sewing the pennants together.
The last garland to cut was the big “Thank You” pennants. I used black cardstock for the triangles and white cardstock for the letters. (I would tell you the font I used, but I can’t remember. And, I must not have saved my cut file because I can’t find it to check. But, of course, you can use any font that works for you!)
I made the black pennants as large as I could fit in the cut area of my paper. Instead of sewing these together, I added small 1/4″ circles in the corners to use for threading twine in order to hang it.
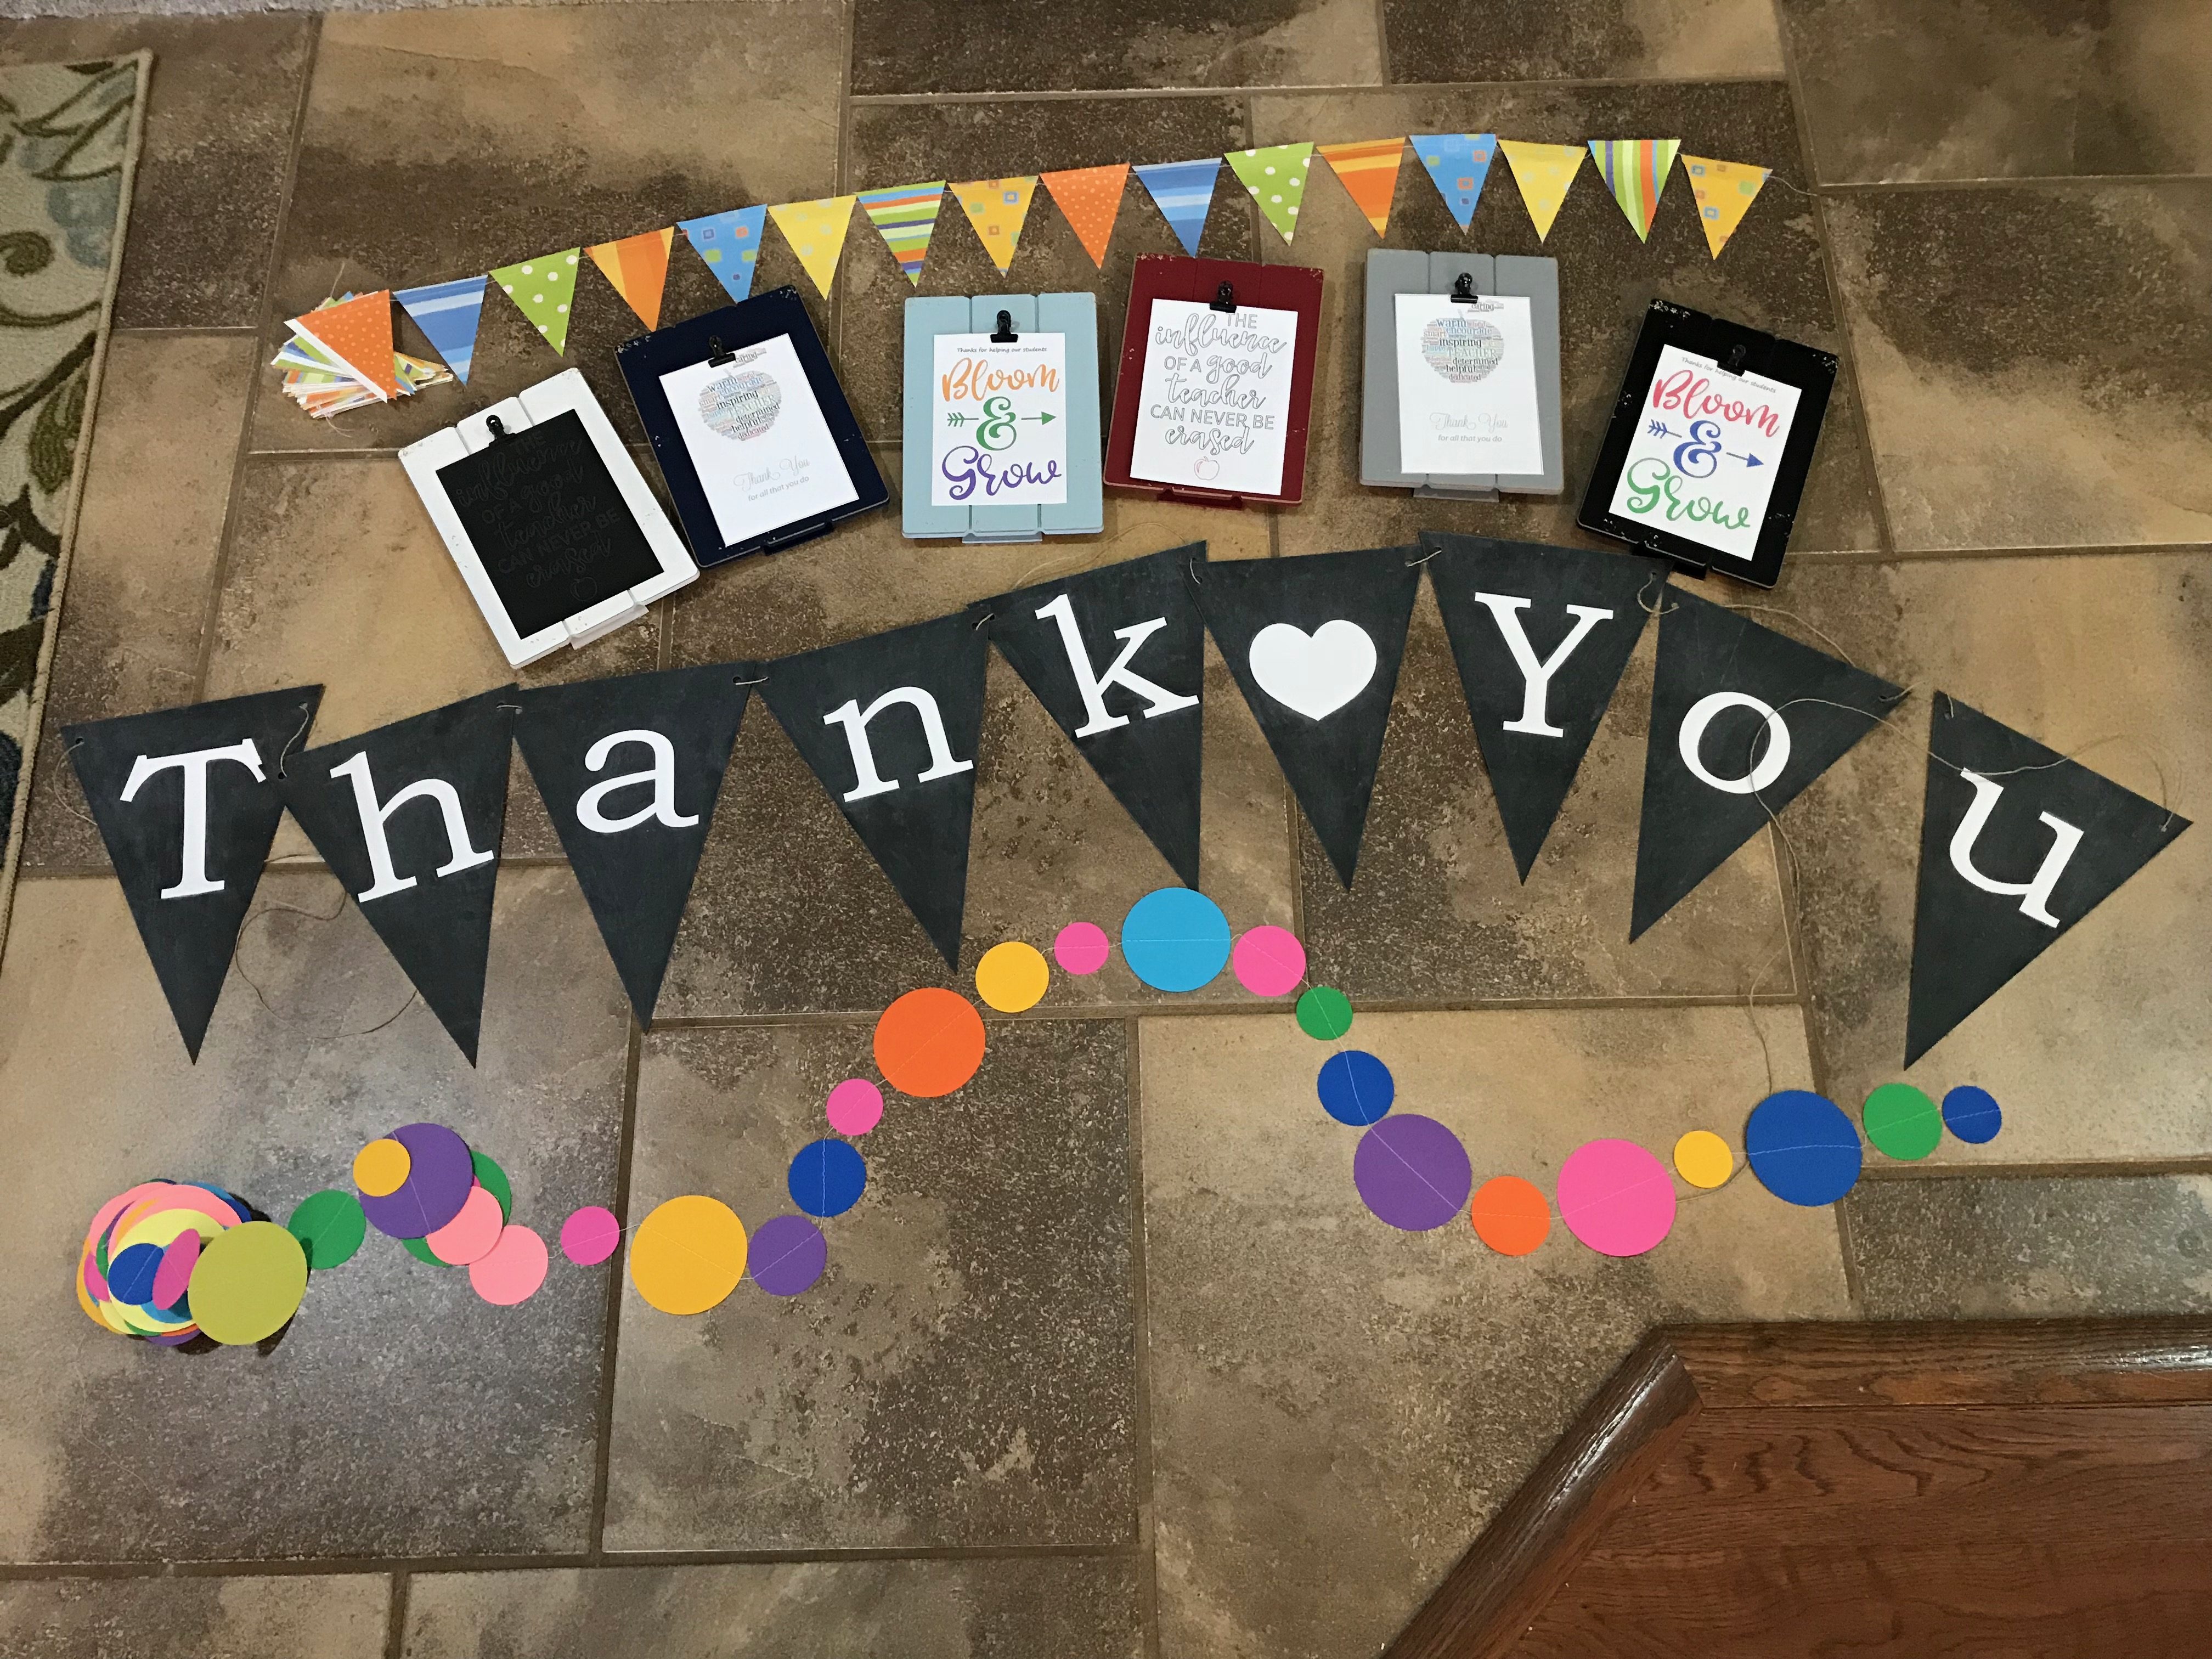 Once the letters were all cut, I glued them to the black using an Elmer’s glue stick. After the glue was dry, I gently rubbed chalk on all of the black pennant pieces to make them look more chalkboard-like, then threaded them onto a length of twine. Here is a picture of the finished projects.
I hope this gives you some ideas for easy, customizable party decorations!